2.6.4. Collaborating through your gitlab repository#
Now that you have the basic Git commands under control, let’s try to get you and your lab partner to work together through your group’s gitlab repository.
Note that the exercises in this section can only be done once you and your partner have joined a group in Brightspace, you have both logged in to our gitlab server once, and you have received the URL for your group’s gitlab repository from us. If you have done the first two items, but have not yet received the repository URL from us, you can continue with the next chapter and come back to this section afterwards.
To get the hang of collaborating with Git, you will push some code from one of your PCs to the online repository, and the other will pull it. This means that the following parts require two PCs (or one needs to logout and another login if you work together with a single PC in the student lab rooms). Also, because you both need to do different actions, the exercises below will specify that either user A or user B must do certain actions.
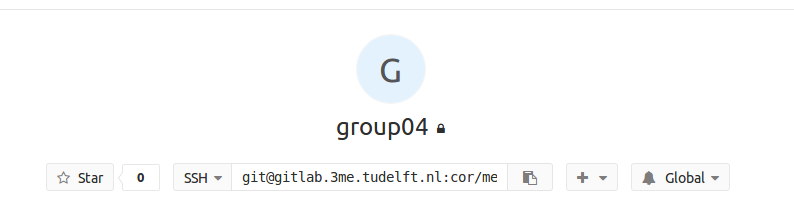
Fig. 2.8 The SSH URL should be visible in your repository at a place that looks something like this. Especially if you are group 4.#
Exercise 2.91
User A: Go to the repository URL that you received. clone the repository to your PC. You can find the SSH URL in the center of the “Overview” tab, as shown in fig. Fig. 2.8.
Write the following, where <SSH-URL> is your SSH URL, and <FOLDER> is the folder you want to put the repository. The folder can be either relative to your current folder, or an absolute location.\
$ git clone <SSH-URL> <FOLDER>
$ cd <FOLDER>
$ touch README.md
$ git add README.md
$ git commit -m "add README"
$ git push
If you get an error when cloning the repository, you have probably incorrectly setup your SSH key for your Gitlab account, or used a non-standard key name or pass phrase. Check the the steps in first time Git setup instructions again, and then retry to clone the repository.
If it all worked out, you have just made a commit!
Refresh the repository in your browser and verify that the README.md[1] file has been added.
You can also see the history of everything you have done in the tab named “Repository” on the left hand side.
In this tab, you can look at all the previous commits, the branches, and see the equivalent of the git log command under “Graph”.
Exercise 2.92
User B: clone the repository to your PC.
You can find the SSH URL in the center of the “Overview” tab, as shown in fig. Fig. 2.8.
Add some information on what you think is the best feature of Linux in the README.md file.
Commit this with a short but informative commit message, and push it to the repository.
Again, these changes should be visible on the online repository if you did it correctly.
Additionally, if you have added any markup to the README.md file, it should show up properly formatted.
Exercise 2.93
User A: While your lab partner had the best intentions, it is not very relevant for this course.
Pull the repository with his new commit, and undo it using the revert command.
Look at git revert --help to see how you can do it.
This command automatically commits as well, which you can verify with git log, or git glog if you followed Exercise 2.89.
Finally, push the revert commit to the repository.