9. The Gazebo simulator#
Gazebo is an open source robotics simulator which, although it is not part of ROS, integrates well with it. But it can also be used completely stand-alone, without ROS.
The simulator provides a complete toolbox of graphical tools, development libraries, and even cloud services to make simulation easy. Gazebo allows developers to quickly iterate on new physical robot designs in realistic environments, simulating physical interactions and high fidelity sensor streams. This allows testing robot control strategies in safety and enables integrating test-in-simulation as part of the automated tests in a Continuous Integration (CI) setup. More importantly, simulation makes all of this possible even before any physical hardware is available, for instance when its design isn’t finished yet or parts are still being produced.
Important
RSP students should have Gazebo already available in the provided Singularity image. If you find this is not the case, please post on the RO47003 support forum on Brightspace.
9.1. Setting up the simulator#
For the exercises in this section, we have already prepared a Gazebo simulation of a Mirte robot in a simple simulation environment with the necessary ROS 2 integration.
Use the following steps to setup this simulation on your own PC / laptop:
Create a new workspace.
Clone the following repository into your workspace’s
srcdirectory:git@gitlab.ro47003.me.tudelft.nl:students-2425/ro47003_mirte_simulator.git
This repository contains the description of the simulated Mirte, its controllers, sensors and all the required components to run the simulated environment.Build the provided simulation packages in your workspace using
colcon build.
You can now lauch the simulator using the following command:
$ ros2 launch mirte_gazebo rsp_lab3.launch.xml
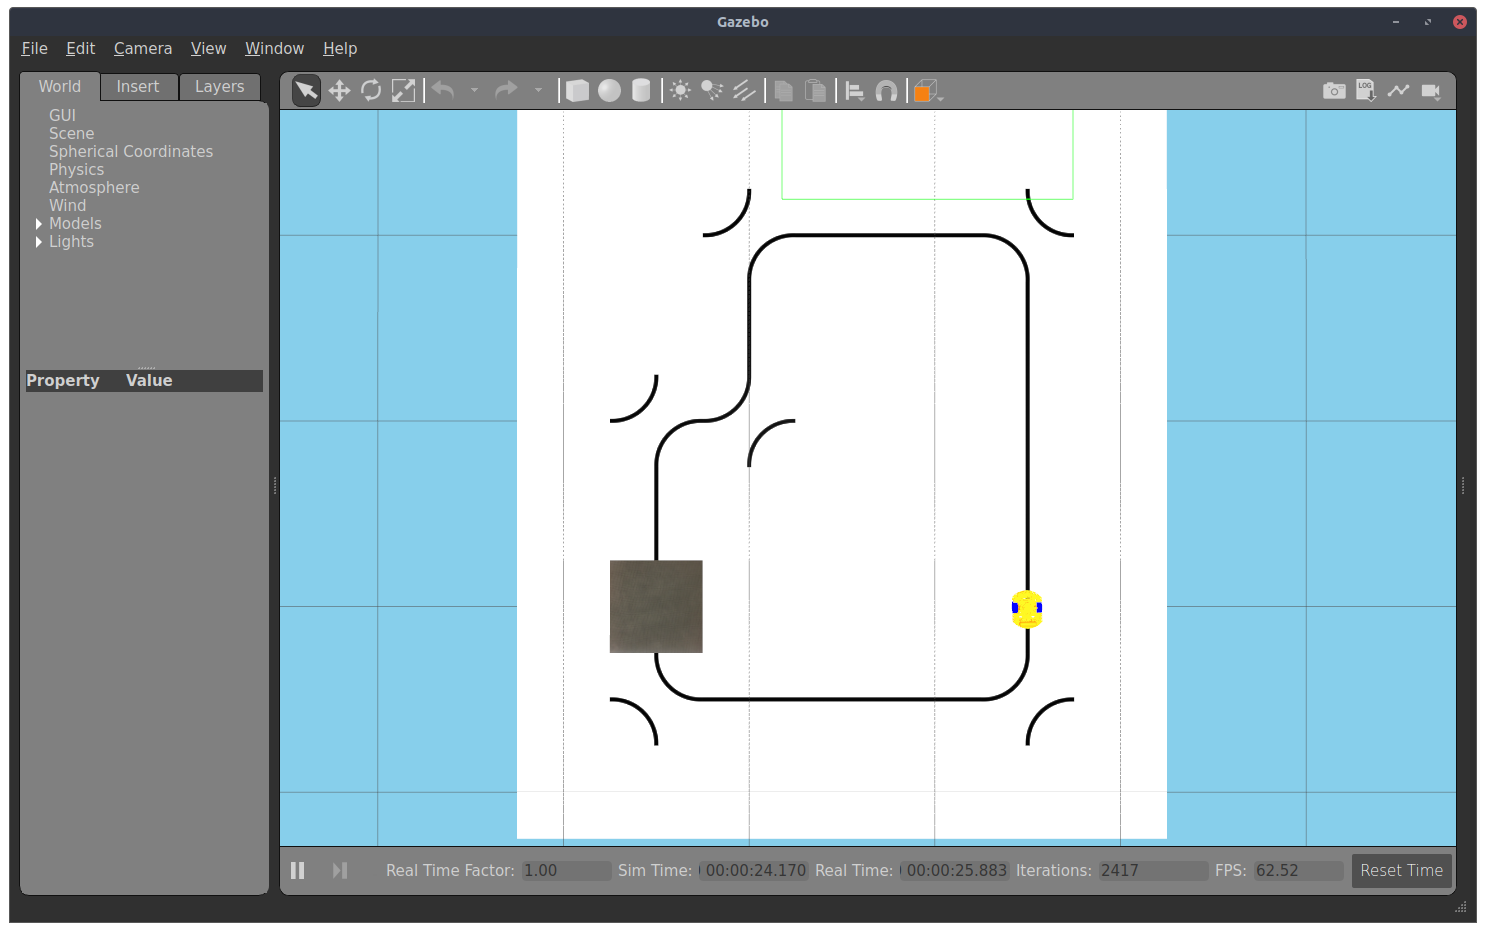
A Gazebo window should appear, showing the simulated environment:
Important
Make sure the fields Sim Time, Real Time, Iterations and FPS at the bottom of the Gazebo window all regularly update their values. If they don’t, Gazebo might be either paused or is not working properly on your laptop / PC.
If it’s paused, try clicking the play button ( ▶ ). The Sim Time field and the others should start updating.
If they still don’t, please post a message on the RO47003 support forum on Brightspace.
Tip
If for any reason the simulator launch file does not launch gazebo properly, be sure to kill any background processes created by gazebo before trying to launch the simulator again. Otherwise you will end up with multiple of these background processes hogging your (virtual) machine’s resources.
You can use htop to search for gazebo (using the F3 key as indicated by htop the bottom of the terminal) and kill the associated processes.
You can of course also use ps and kill, etc.
9.2. Working with the simulator#
Now that you have your Mirte simulation running (you can see the Mirte model in the Gazebo window), you will learn how to control the robot.
The following exercises will guide you through the steps required to drive around Mirte and to receive data from the line following sensors. You will perform these first exercises using just the command-line (ie: in a terminal).
Exercise 9.1
If you have not done so already, launch the Mirte simulator.
Once the simulation is started:
investigate which nodes are running
investigate which topics are being published to
check the data being published on some of the topics using
Which topic is used to send velocity commands to control the Mirte? Save this topic name, you will need it later. Hint: The topic carries messages of the type
geometry_msgs/msg/Twist. You can check if your guess is correct usingros2 topic info.
Next, let’s drive Mirte around in the simulated environment.
Exercise 9.2
Publish messages to control Mirte from the command-line.
Use the following command (you need to replace <topic_name_from_previous_exercise> with the topic name you found in the previous exercise):
$ ros2 topic pub <topic_name_from_previous_exercise> geometry_msgs/msg/Twist "{ linear: { x: 1.0, y: 0.0, z: 0.0 }, angular: { x: 0.0, y: 0.0, z: 0.0 } }"
Publish a few variations yourself and use different values for the linear.x and angular.z
Check which values make Mirte turn slowly, fast, or not at all.
The command shown in Exercise 9.2 uses the in-line style of YAML to specify the message content.
When using block style YAML, indentation must be completely correct or else ros2 topic pub will not accept your command.
Note
To try and avoid indentation issues you could press TAB twice after the message type to trigger autocompletion which will show you a template for the message structure including the required indentation. You can only use the ← and → arrow keys to navigate to fields in the template. Don’t try to use ↑ or ↓, as they will search back in your (Bash) command history instead.
Next, let’s use keyboard input to control Mirte.
Exercise 9.3
Make sure the simulation is running. If you closed it, restart it with the command from Exercise 9.1.
Open another terminal and run a node that gets input commands from the keyboard using this command:
$ ros2 launch mirte_teleop teleop_key.launch.xml
Use the keys described by the node when it started up to move and control the velocity of Mirte (make sure the terminal where you launched the launch file is active. If unsure, click in it with your mouse)
Check what kind of messages are being published on the topic you found in Exercise 9.1.
Keep everything running and now let’s check the sensor data.
Exercise 9.4
Make sure everything from Exercise 9.3 is still running.
Check the sensor values being published on the sensor topics. Run (replace
<side>byleftandrightto see messages on all sensors):$ ros2 topic echo /mirte/intensity/<side>
Drive Mirte to different positions near and on the black line to see how the reported values change based on where the line sensors (pink box) are.
Check the sensor values corresponding to the black line and the white floor. Remember those values, you will need them for the control node.